Get your React Forms right.

Highly driven Backend Engineer with 1.5+ years of experience in Java, Spring Boot, and microservices, experienced in delivering scalable, production-grade systems in fast-paced startup environments.
Forms and their validation have always been important when it comes to adding them to a website. They are one of the main points of interaction between the user and the website and provide a handy way to store user information for future use.
To be honest, using Forms in HTML and validating them through JavaScript was not at all easy in the first place. But, if we talk about Forms in React, then we all know that handling Forms in React is a real pain too. Although, libraries like Formik are present for us to handle React forms, but who needs a library if we can code things natively and independently? So, in this blog, we will try to understand how Forms in React works, and we will look at most of the elements that are available to us in Forms.
So if you are ready, shall we?
Wait! Hear me out first.
Form elements in React, work slightly differently than other DOM elements, as they naturally have some internal state attached to them. Remember, our old buddy JavaScript, where we used to gather all the data entered in our form at the very end of the process and then submit it immediately? Here, as soon as we submit our form, the page refreshes.
In React, though, this is not the case. Instead of this, we create a State, and at every keystroke or checkbox change, we update our state. Therefore, we can say that we are watching inputs at every change, and when we need to submit our form, we don't have any more work left to be done. We would have already gathered data, which we can simply pass into the API along with the state that we were tracking.
Controlled Components
As I mentioned earlier, HTML Form elements have their own internal state, which is maintained by them and updated based on user input. But see, here we are, using React to mutate the state of our components through useState() hook.
Now, if two people (the internal state and the react state) are fighting for the same third person (form update), the third person must obviously suffer.
And we don't want that. It is better for us to choose a "single source of truth", and since we are using React to make our application, we will definitely want our React State to be the "single source of truth". This way, whenever our component renders a form, React will control the rendering based on subsequent user input.
An input form element whose value is controlled by React in this way is called a “Controlled Component”.
To control the value of a form element through React, we simply need to pass an attribute to our element, which is "value" attribute. The addition of this attribute, makes React our single source of truth.
function Form(){

/*
we are using state as an object, as it is a good way to use a
single state and function to take care of many form elements
*/
  const [formData, setFormData] = React.useState(
    {firstName: "" , lastName: ""}
  )
  function handleChange(event){
    setFormData ( prevData => {
      return(
        ...prevData,
        [event.target.name] = event.target.value
      )
    }
  }

  return(
    <form>
      <input type="text" placeholder="First Name"
        onChange={handleChange}
        name={firstName} value={formData.firstName}
      />
     <input type="text" placeholder="Last Name"
        onChange={handleChange}
        name={lastName} value={formData.lastName}
      />
   </form>
  )
}
Now that we have understood what controlled components are in React. We should direct our focus on different Form elements and how they are handled in React. We have already seen how the normal "input" element with type "text" is handled. We will now learn the rest of them. Let's go🚀
TextArea
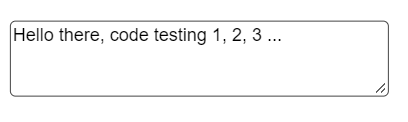
If you recall properly, in HTML, we used to define the text we needed to display in TextArea by defining it in its children. See an example 👇
<textarea>
  Hello there, Code testing 1, 2, 3...
</textarea>
But, to do the same thing in React, we have to put the text in "value" attribute of TextArea element. This is done in React, to handle TextArea, similarly to the input element. In the previous example, we can insert textarea as follows:
<textarea value = {formData.text}
  placeholder="text here.."
  onChange = {handleChange}
  name="textarea"
/>
Result 👇
CheckBox
In React, we use the input element with the type="checkbox" attribute to create a checkbox just like we used to do in HTML and JavaScript.
The only difference between them is how they are handled. Instead of the value attribute that we were using until now, we have another attribute called "checked", which can have boolean values. If the checkbox is checked, the value is true; otherwise, it is false.
Here's the code 👇
    <input
        type="checkbox"
        name="checkbox"
        checked={formData.isChecked}
        onChange={handleChange}
    />
  <label htmlFor="checkbox">Understood?</label>
Result 👇

Radio Buttons
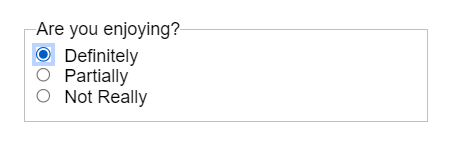
As we all know, Radio Buttons are like multiple-choice questions, where we have to choose one correct option. If not understood properly, radio buttons can quickly turn into the most confusing form element in React. Let's understand it through a few key points:
- In React, the 'value' property present in the Radio buttons is not provided by the user but, rather is pre-defined by the developer as an option.
- Although, the 'checked' property is present here too, but it is only present to identify if the Radio Button is checked or not.
- Unlike the Checkbox element, it does not contain boolean values; rather, it will contain the string value of the option that is currently selected.
    <fieldset>
        <legend>Are you enjoying?</legend>
        <input
            type="radio"
            id="Definitely"
            name="enjoying"
            value="definitely"
            checked={formData.enjoying === "definitely"}
            onChange={handleChange}
        />
        <label htmlFor="definitely">Definitely</label>
        <br />

        <input
            type="radio"
            id="partially"
            name="enjoying"
            value="partially"
            checked={formData.enjoying === "partially"}
            onChange={handleChange}
        />
        <label htmlFor="partially">Partially</label>
        <br />

        <input
            type="radio"
            id="no"
            name="enjoying"
            value="not-really"
            checked={formData.enjoying === "not-really"}
            onChange={handleChange}
        />
        <label htmlFor="not-really">Not Really</label>
        <br />
    </fieldset>
Result 👇
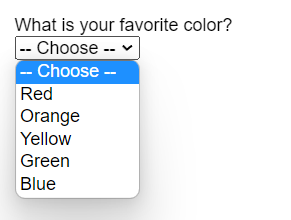
Select Box
The Select Box lets you select one option from a list of items present in the drop-down menu. In regular JavaScript form, there are different ways to handle this form element. But in React, the React team has decided to make this element similar to the regular input element.
     <label htmlFor="favColor">What is your favorite color?</label>
        <br />
        <select
            id="favColor"
            value={formData.favColor}
            onChange={handleChange}
            name="favColor"
        >
            <option value="">-- Choose --</option>
            <option value="red">Red</option>
            <option value="orange">Orange</option>
            <option value="yellow">Yellow</option>
            <option value="green">Green</option>
            <option value="blue">Blue</option>
        </select>
Result 👇
Submitting a Form
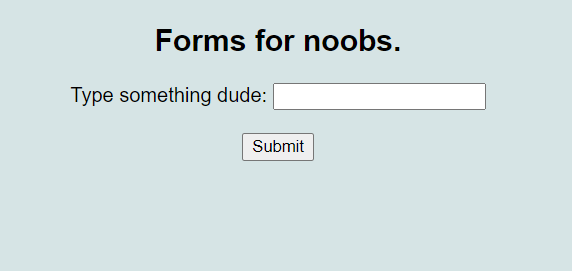
In HTML, to submit a form, we used to use the 'input' element with a type="submit" to create a "Submit" button. However, in React, we can simply add a 'button' element inside the form, and React will automatically treat it as a "Submit" button.
Back in the old days, we used to add a method="POST" or "GET" attribute and an action attribute, which led to some php file, when we submitted our form. But we have left that behind. Nowadays, when we click the Submit Button, the form element activates an "onSubmit" attribute, where we can specify what needs to be done through a function.
At this point, we already know that, we don't need to gather all of our data before submitting our form to some API or database, as React was already gathering the data all along. We can simply submit our data. Originally, when we submitted a form, the page refreshed and a query string was added to our URL, which did the same thing as our good old method="POST" or "GET". But we don't want that anymore.
<form onSubmit={handleSubmit}>
      <input
          type="text"
          placeholder="Name"
          onChange={handleChange}
          name="name"
          value={formData.name}
      />
      <button>Submit</button>
</form>
Result 👇

So, what we do in React is take the event object, which is passed to our event handler, and use "event.preventDefault()" . Preventing the default means that it won't refresh our page and essentially re-render our app with all the default values and states.
function handleSubmit(event) {
    event.preventDefault()
    console.log(formData)
}
Conclusion
Hurray!! We've finally figured out how to get our React forms right.This is, in a nutshell, how forms in React are handled. Now, all we need to do is practise them thoroughly. I know, we have plenty of libraries to handle our Forms, but understanding how things work at their very core is very important as a developer.
I hope this blog really helps you understand the very basics of React Forms. Remember, you don't need to memorise them; you can always come back and take a look to get going.
All the very best on your React journey, and while you are finishing another React tutorial, don't forget to follow me for more of these contents. 😉